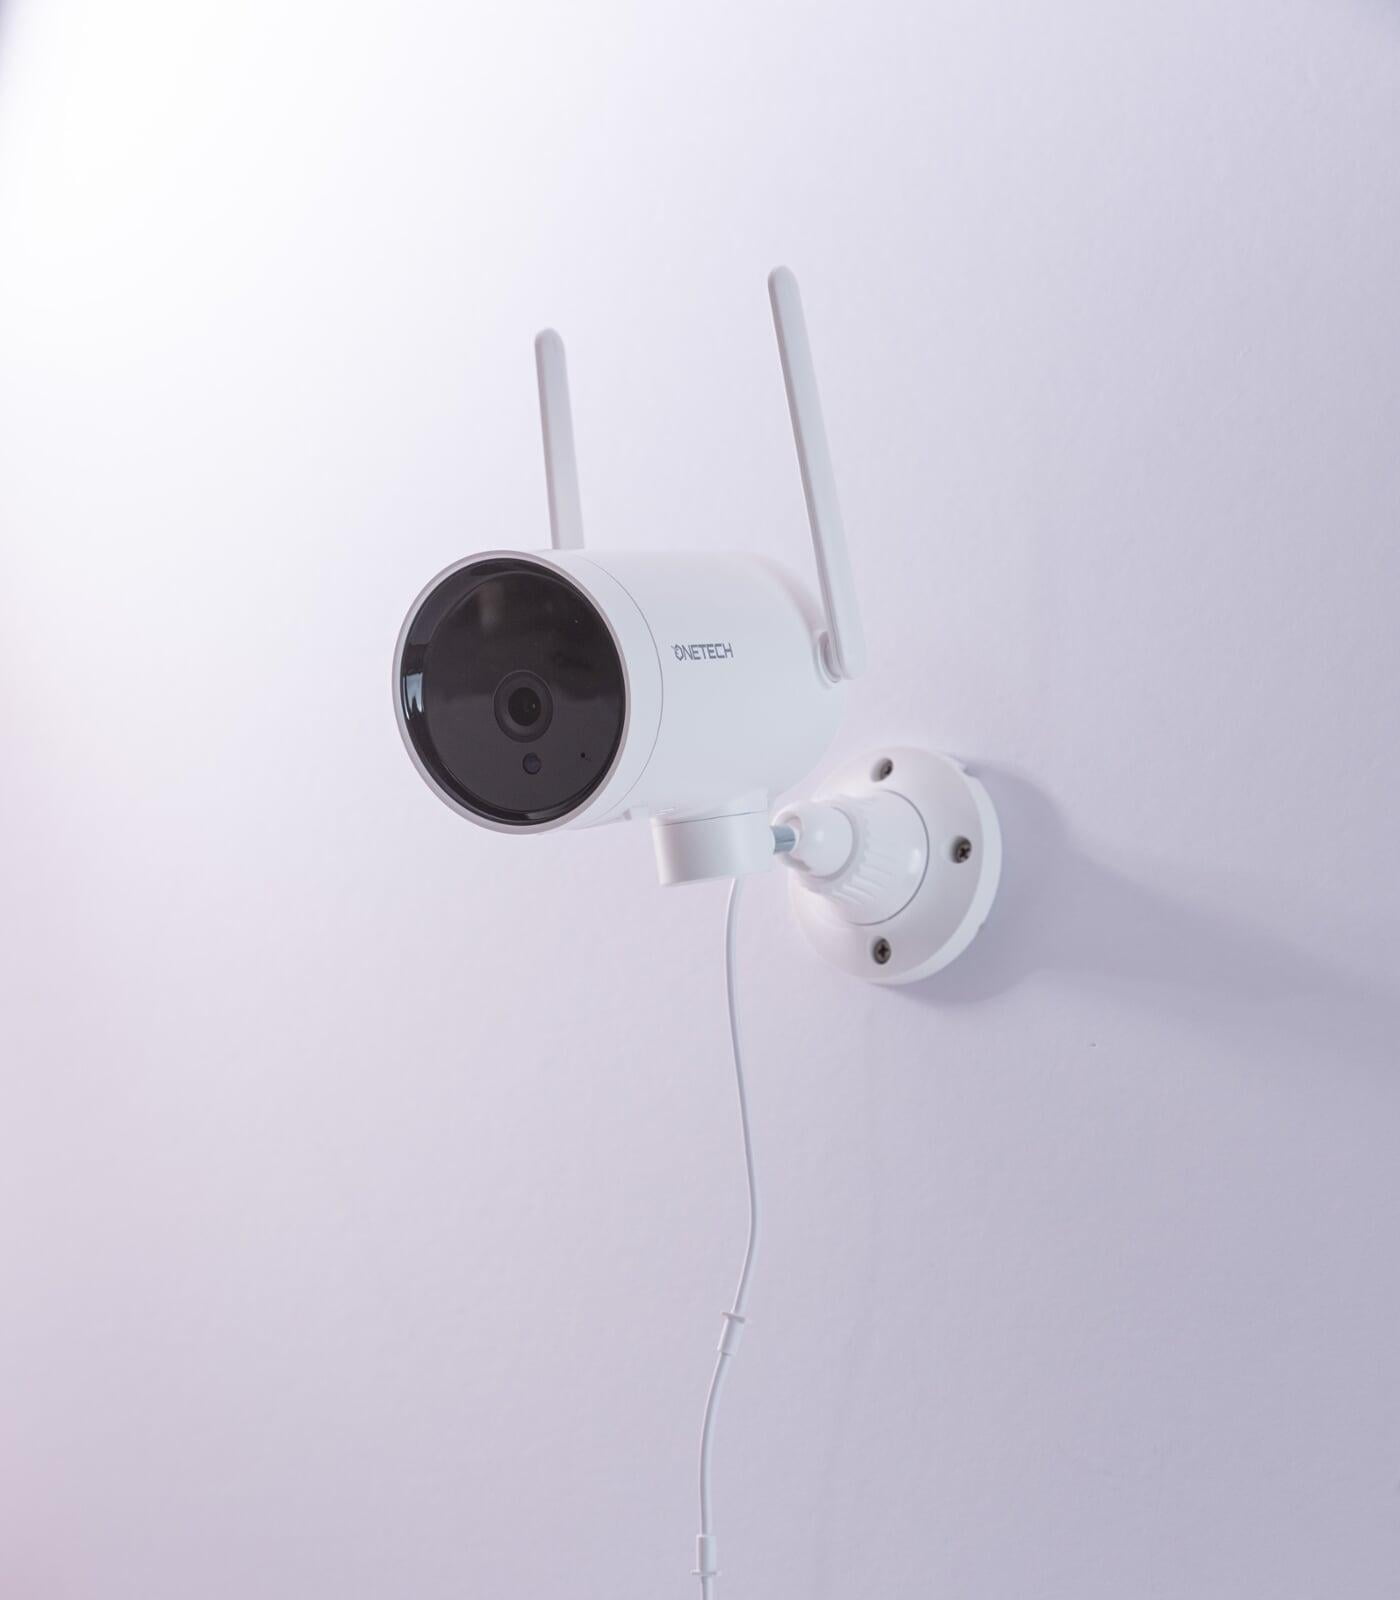
PETA
Installation and Troubleshoot
Thank you for choosing OneTech as your security partner. Here's the step-by-step guide on installing PETA, your outdoor IP camera.
BASIC SETUP GUIDE
- Install the Class 10 Micro SD Card on your PETA.
- Plug your PETA IP camera to a power outlet (220V).
- Prepare your WIFI details and password. You will need this information when you connect your PETA IP camera for pairing with your mobile device. Note that you need to use the same WIFI connection for both the mobile device and the PETA camera.
STEP 1: INSERTING THE MICRO SD CARD (FOR LOCAL STORAGE)
- Ensure that your Class 10 Micro SD card has been reformatted before inserting it on the card slot of your PETA IP Camera. You may use your computer to reformat the SD card.
- Insert your Micro SD card in the card slot. The Micro SD card’s chips/pins should be inserted facing you.
- You are all set to install the official PETA home security app, Tuya app.
STEP 2: INSTALLING /DOWNLOADING THE APP ON YOUR MOBILE DEVICE
· The official software application to use with your PETA IP Camera is the Tuya app.
· For existing Tuya users, sign in using your registered email address and password. You may begin linking your PETA to the Tuya APP.
· For first-time users of the official PETA IP Camera Tuya app:
1. Download the Tuya APP.2. Scan QR Code to download the app.3. Once downloaded, you can now register and create your account.
STEP 3: REGISTERING IN THE TUYA APP
1. Open the TUYA APP and click “SIGN UP” to create your new account.
2. Register your country and enter valid email address
3. Read “Policy Privacy User Agreement” and click on “I Agree”
4. You will get the verification code sent to your email.
5. Input the verification code sent to your email address
6. Nominate your own password.
STEP 4: PAIRING / ADDING YOUR PETA WITH TUYA APP
1. Click “Go to App” button.
2. Click on “Add Device” or the “+” button at the upper right corner.
3. Click “Allow All” button.
4. Select “Security and Video Surveillance” on the left pane.
5. Select “Smart Camera (Wi-Fi)”
6. Tick “Make sure the indicator Is flashing…” box.
7. Click on “Next”.
8. Enter your Wi-Fi password. Note that you may also use LAN cable to connect to the internet.
9. Scan the QR code from the Tuya APP using your PETA and wait for the confirmation “Beep” tone.
10. Click on “I heard the prompt” and wait for the device to connect.
11. Once added successfully, click “Done” on the upper right corner.
12. Click “Test” to check if you have turned on the corresponding permission.
13. Click on edit button at the upper right corner (pencil icon).
14. Click on “Storage Settings” and wait until SD Card is successfully formatted.
CONGRATULATIONS! You are done connecting your PETA to the Tuya APP.
STEP 5: VIDEO STORAGE DETAILS
· If you want to use your cloud storage, click on the “Cloud Storage” then “Subscribe Now” to save footages on cloud, subject to Tuya in-app charges.
· If you do not want to use cloud storage, your PETA can store footages on your Class 10 Micro SD Card. Your videos will also be accessed on your mobile device.
STEP 6: MOUNTING YOUR PETA IP
Now that you were able to install the APP, paired your mobile device, and selected storage, you may mount the PETA IP camera to your desired location.
1. Screw PETA unit to your desired location (use tox and screw for concrete).
2. Plug PETA on power supply (220 watts).
3. Use tweezer clip to organize wire on wall or ceiling.
4.Reset the IP Camera by pressing the reset button for for 2 to 3 seconds.
STEP 7: SHARING IP CAMERA
1. You can give access to other users on your PETA, Just Click on “Add Sharing”
2. Click on “Share with the Account Tuya Smart”
3. Enter the email address of the Tuya account you want to share the device with
4. Account who will be shared with will get a notification
5. Shared account can now view and control the camera
HOW TO TROUBLESHOOT?
HOW TO TROUBLESHOOT?
| ISSUE | WHAT TO DO |
| IP camera does not pair with Tuya APP | - Restart the IP camera by unplugging the power adapter and plugging it back. - Make sure IP camera is connected to the same Wi-Fi as the mobile phone. |
| SD card not detected | - Restart the IP camera by unplugging the power adapter and plugging it back. Make sure the SD card is inserted properly (refer to manual - Installing of SD card) |
| IP camera does not show blinking light | - Restart the IP camera by unplugging the power adapter and plugging it back |
| IP camera went offline | - Check that the IP camera is plugged in correctly - Make sure that the distance of the IP camera from your Wi-Fi modem is within 4 meters |
| Forgot password | - Go to the Settings of your Tuya APP (at the bottom right) and select ‘change password’ - Follow the steps to reset your password. |
| Authentication code not received | - Check spam folder - Retry by clicking OBTAIN button |